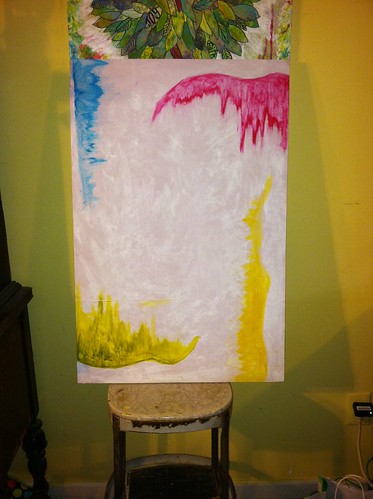
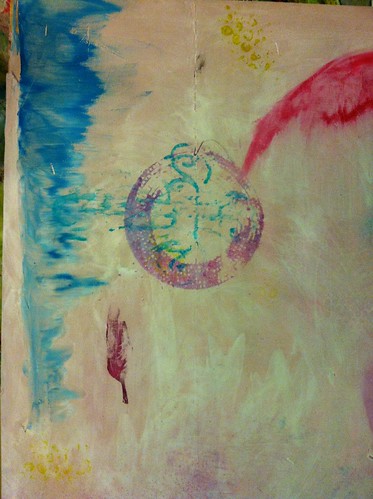
Yesterday's post left off with the background in just the beginning stages. Today I will show you how I added texture and depth to the background.
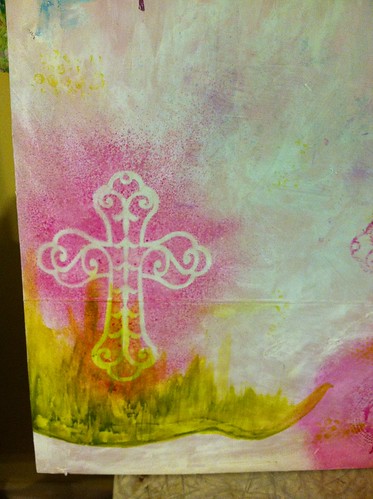
Here I used Mini Misters by
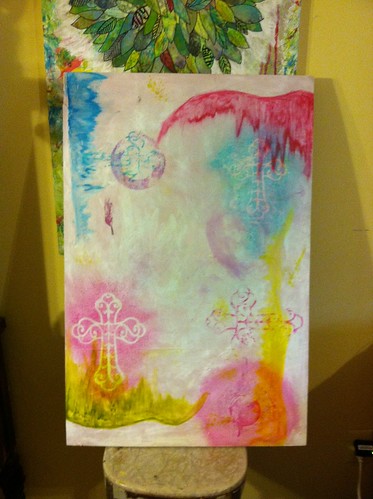
Ranger to spray over a laser woodcut cross I wanted the spray to be the main thing that you noticed and for the cross to stand out as a resist. I used
Golden Fluid Acrylics and water in the Mini Mister to achieve such a bright color. (The color is
Quianacridone Magenta)
When you spray on a stencil there is always a lot of paint left on top so I always try not to waste it by flipping the object over some where else on the painting or on a scrap of paper and that way I get a 2-4-1 out of each spray.
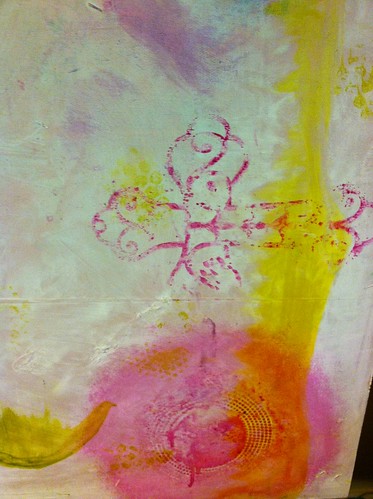
Below the reverse of the cross I used the same color mini mister and used a plastic needlepoint canvas as my stencil and then blotted it with a cloth to pick up some of the excess paint.
I kept playing with the sprays and my two stencils until I was happy with the way that the background looked.
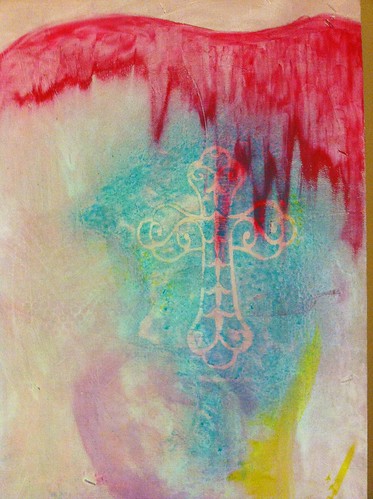
I used a few of my foam stamps that I have made in different places on the piece.
The background is complete and tomorrow I will show you how I start adding the main design and collage elements.

No comments:
Post a Comment