Sunday, April 19, 2015

Kit of the month club


Sign ups begin tomorrow morning, April 20 , 2015 at 9 am

A Handcrafted Kit for the Crafty Planner Girl. 
Do you love to created snail mail and pocket letters? This this kit is for you. 
Do you like to get creative in your planner? Then this kit is for you.
Do you like to create cards and ATCs? This kit is for you.
Do love creating unique pages in your scrapbooks and Project Life layouts? Then this kit if for you too. 
Each kit is handcrafted with love and attention to detail, because we love to do all of the above and wanted a kit that will work for you and give you unique supplies to do it with.

Each monthly kit will vary each month but will include a variety of 10 items from the following categories:
  • Tasty Treat
  • Vintage
  • Twine or Ribbon
  • Snail Mail Helper
  • Embellishments
  • Paper
  • Journaling Cards
  • Washi Tape Samples
  • Tags
  • Exclusive Stickers
  • DIY mini project
The price is $24.99 per month for US customers and includes Priority Mail Shipping.
For our International Customers the price is $34.99 per month with standard shipping included.
All Kits will ship out by the 10th of each month and when you sign up today you will be charged for the first month and then each month their after on the same day of your sign up.
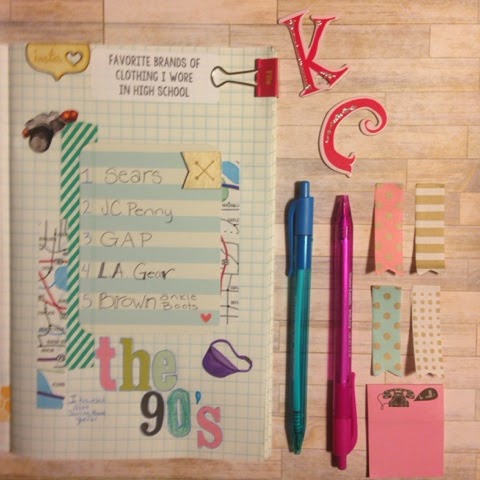
Here are some examples of what you will receive in your Kit


Saturday, April 18, 2015

Monday, April 13, 2015

We are building a farm

We are building a farm from the ground up. Over the news few months I will be sharing our progress and projectsa to inspire you and I hope to help you be able to start your own farm. We have been micro farming on an acre and a half and now we will be relocating to 9.35 acres and be a larger operation and are planning on operating a CSA co-op in the near future.


Monday, March 9, 2015

Midori Traveler's Notebook Printable Inserts


I just wanted to give you an update about some of the new things that are available in my Etsy Shop


I have all added a few different options to the pages as well. If your would like to have other options.


There are a few new printable stickers in the shop as well. 


Wednesday, March 4, 2015

Patterned Paper Flags for Planners and more

I have become obsessed with patterned paper flags as much as the next person so I decided why limit myself "if I can find them " and not create my own paper flags to dress up my planner pages and other paper crafting projects. We I decided to make a few sets to sell as well. They are now live in my 
Etsy shop. You can find a link to my Etsy shop at the top of the page. I hope you enjoy these as much as I do. 


Friday, February 27, 2015

Handmade Planner Stickers

I am working on some new products for my shop and I wanted to share what I have worked up so far. These are my new Planner Stickers. Each sheet measures 2 5/8 x 1 inch and these stickers are great additions to any planner page. They should be listed in my Etsy Shop some time next week. 


Wednesday, February 25, 2015

How to make your own Planner goodies


I just used some ribbon from my stash to make some cute bookmarks for my planners and to send in some happy mail. 

These stickers were made with Avery labels and my Silhouette Cameo. I will be posting the cut file to my etsy shop soon.  I used my large collection of Sharpie markers to color them before I pulled the paper off from around the stickers. 

Here is what they look like after they have been cut. Each sticker group measures 2 5/8 inches x 1 inch. I used standard mailing labels to cut these out because I have a large stash. You could use regular sticker paper as well to cut them out of. 

Wednesday, February 18, 2015

How to make custom color labels


I used some sharpie markers to color plain white labels to use in my planner I thought I would share them here and give you a few tips: 
  • Store your Sharpies point side down and this will keep the tip very juicy.
  • Use fresh ones and color over each a few times to get good coverage.
  • Let them dry overnight before you use them and they will stick better.
  • Keep a paper towel handy to wipe up the backing paper
  • When coloring the reinforcement labels make sure you have a piece of paper under it. (see last picture to see what happened to my table because I didn't do this. 


Related Posts Plugin for WordPress, Blogger...
Ebates Coupons and Cash Back